Soaping isn’t hard, but can definitely be a little intimidating at first! But something about the transformation of a combination of oils (and whatever creative ingredients you add) and what would otherwise the super harsh chemical of sodium hydroxide into a skin loving, emollient bar of soap… it becomes a beautiful mix of science and art, and feels like magic :). For this first post, let’s start with the basic items you will need to start soap making at home.
Digital Scale– I prefer one that can weigh up to 50lbs, that way if I’m taring a heavy pot before measuring out my oils, I have plenty of weight to go before it reaches its max. I also have a small digital jewelry scale for weighing out micro ingredients (I do this much more often with lotion or my conditioner bars). ALWAYS use weight to measure your ingredients- oil densities per oz or gram can vary quite a bit when making soaps and the weight in ounces or grams is what is calculated and necessary to the formula.
Infrared Thermometer Gun– knowing your temps before you mix the lye water into your oils can make the difference between lovely soaps and a soap mess, so get yourself one of these! They aren’t expensive and WAY EASIER than trying to balance a candy thermometer in your soaping pot while mixing.
Stainless Steel or Ceramic Soup Pot– choose one that will only be used for soap from now on. Do not use aluminum, non stick coated pots or cast iron.
Heat Resistant Stirring Spoons– I use silicone spoons for this.
Immersion Blender– this doesn’t need to be a super fancy or expensive one as general immersion is all the soap needs. Yes, you can technically use a stirring spoon for this as well, but it will greatly speed up your time with the immersion blender.
Heat Tolerant Containers for Mixing Lye– the best containers I have found for this, and have lasted for years now, are the heavy duty plastic paint mixing containers from home depot (or likely any hardware store). They have the recycle number 5 on the bottom. Some people recommend Pyrex containers- and those should work well for some time… however, I have heard that lye can slowly eat away at Pyrex and over time you might have a situation where your container cracks or breaks while you have lye water in it, which would be AWFUL. Many soap making demos use Pyrex, so it’s likely to take a long time and a lot of soap making before that happens, but once I saw that technically could happen, I can’t erase it out of my mind and want to pass it on to you as well.
Heat Safe Gloves and Eye Protection (if you don’t wear glasses)– when working with the lye you will want to wear protective gloves and eye protection. Little splashes can and will happen… and they HURT. Always have access to running water and good ventilation when soaping. It’s so cool the way lye turns into awesome soap over time… but when it’s still lye, lye water, or lye heavy soap when pouring into your soap mold… you need to treat it with focus, care and caution. It’s a good choice as well to wear a long sleeve shirt when pouring your lye during the soaping process. Keep pets and young children away from you as well!
Stove: Most of you will likely just use your kitchen stove for this supply. But for those of you who need to soap in a separate space from their family for allergy safe reasons, a simple electric camping stove will work. It doesn’t need to be fancy or have a bunch of settings. I’ve used an inexpensive single burner camping stove for heating my oils (for cold process soap making) for years and have only gone through 2. With the range of allergies many of my customers had, soaping in a dedicated space away from my kitchen (and potential contamination) was vitally important.
Soap Molds!– you can be as simple or fancy with this as you like. Old school soap makers used(use) wooden boxes lined with wax paper to pour their soap into, and a kitchen knife to cut the bars prior to curing. The cheapest pre-made molds are generally found on Amazon, and what is nice about those is that they are already pre measured to hold 2lbs of soap (our base recipe measurement size). They should come in a wooden box with a silicone insert. There are lots and lots of fancier soap molds out there that can get really fun! Always make sure they are either made of super thick silicone that can stand alone, or insert into a support box of some kind. Imagine pouring heavy cake batter into a floppy pan – it would end up as a HUGE mess- then add in skin stinging and awful to clean up, and well, you get why you need to make sure there is support for your molds while the soap hardens up :).
Crockpot (optional)– only needed if you want to make hot process soap at some point.
Sodium Hydroxide, aka Lye– This is 100% necessary to turn your oils into soap. Liquid soap makers use Potassium Hydroxide. Either way, this ingredient is as essential as your oils!! People will equate this with harsh soap… but it’s all in your ratios. Making sure there are enough free-floating fats in your soaps will ensure you have a soap that is easier on your skin. Higher lye content equals a harsher soap. That saying, depending on how you want to use your soap can make that ratio worth playing with. Laundry soap, for example, would have a higher lye content than a shampoo bar. You’ll get comfortable with playing with that side of recipe making after a few batches and the general trepidation of working with lye gets overcome :). As many sites will add- MAKE SURE TO FOLLOW SAFETY GUIDELINES WHEN WORKING WITH LYE. It’s not as scary as it sounds… but also it IS, as in, stay alert and safe when you work and it gets easy and fun. Once your soap is cured, no actual lye remains in the final product- all of it has been transformed into soap during it’s reaction with the oils.
**Note on purchasing Lye: you need to make sure you are buying pure, 100% sodium hydroxide. Many drain openers are 95-98% sodium hydroxide with a few added ingredients- DO NOT USE THESE! Searching “sodium hydroxide for soap making” is a good way to ensure you will find 100% pure options.
Oils– this is a general category that you can get as creative as you like with! The simplest coconut free option is what I will use in my first base recipe posted- Olive Oil. I often use various combinations of olive oil, hemp oil, meadowfoam oil, castor oil, green tea seed oil, rice bran oil, and cocoa butter for my base recipes. But you can play with this as you like and learn about how different oils work in soap over time, based on your own allergy profile. Olive is one of the best base oils as it it’s chemical profile is very soft and liquidy, but actually hardens into a wonderfully hard bar of soap over time. Many of the other oils mentioned need to be added a lower ratios because they stay softer after curing, ie: a 100% hemp oil bar would be quite mushy still after curing. It’s one of the several reasons coconut oil is used in so many bars of soap- it creates a hard bar of soap in a relatively small amount of curing time, even when mixed with much softer oils.
There are other supplies and ingredients you can add over time- this is where you can get as creative as you want! But this is the basic list. There are many great Youtube videos made by wonderful soap makers that are worth watching in terms of learning the basics. They do a much better job that I would and are worth watching during your learning process. The basic process is the same, no matter what oil combination is being used, so even though most are using coconut oil in their recipes, you can just ignore that aspect and just watch how they make their soaps :).
A Note on Oils: Most oils picked up in general grocery stores are not going to be fresh. Each oil has a shelf life- for example, olive oil is around a year, hemp oil is around 3 months. It’s often best to order specialty oils from a reputable soap supply distributor, or ask your store manager how recently a particular oil has been stocked. For something more common, like olive oil, a store that restocks frequently because of demand, like Costco or a restaurant supply store can be a good local source, depending on where you live. HOWEVER, I would guess that this applies less to making the occasional small, home use batch. But it’s worth noting as it’s no fun to have soap going bad on you mid-cure because your oils were super close to the end of their shelf life.
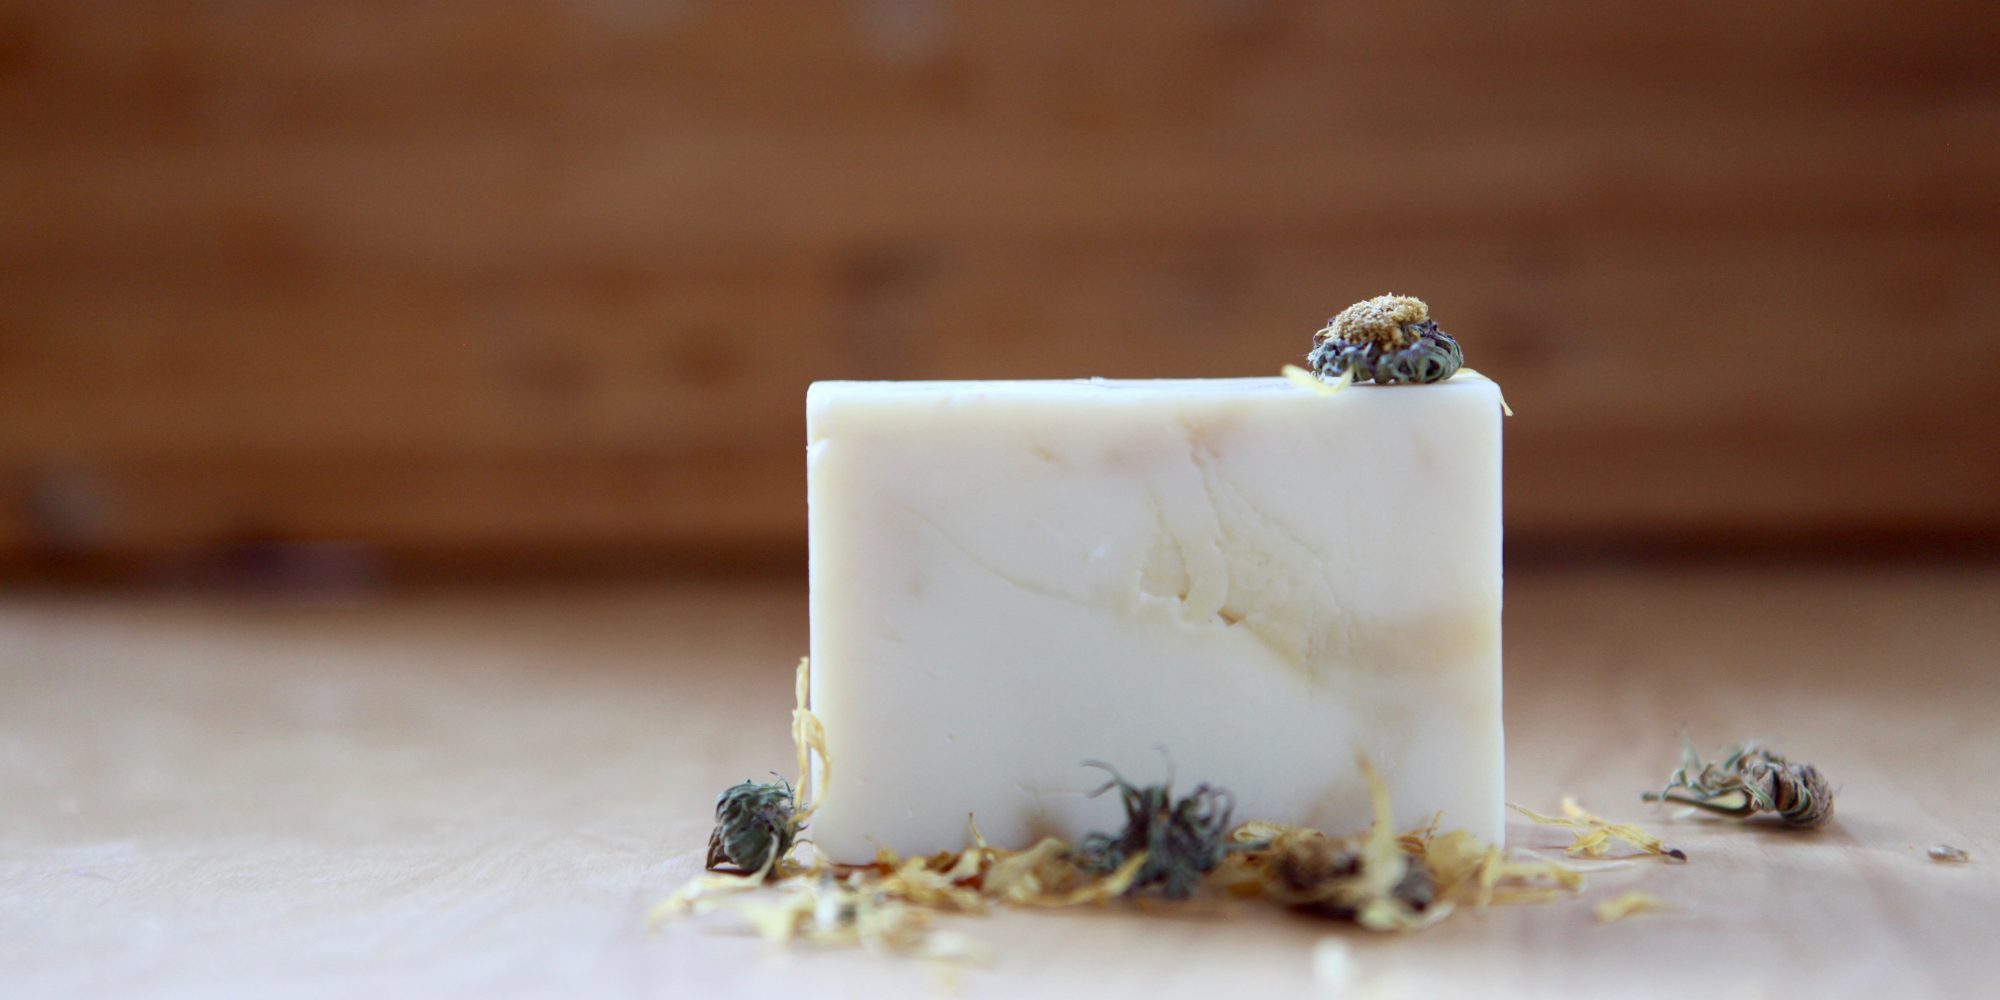
Other Fun Ingredients– this is where you can get as creative, or simple as you like! Essential oils, botanicals for decoration, herbs for infusing, clays, colorants… there can be many ways to stay allergy safe and be super creative at the same time!!
List of possible learning resources (just a starter list of the one’s I learned the most from or have used the most, feel free to do your own searches to fine what resonates the most for you!)
Youtube: I’ll be adding video tutorial references for the next few months as I add more blog recipe posts.
https://www.youtube.com/watch?v=pIzQk4xeFV4
Books: There are a lot of books on soap making & natural product making out there, and I’ve checked out about a bazillion over time, but my personal list is very short. I love “Simple & Natural Soapmaking” by Jan Berry (The Nerdy Farm Wife) as a great all around reference from soapmaking techniques, home-use recipes that you can change to be coconut free with a little extra knowledge, and my favorite resource- her catalog of soap additives and colorants near the back. I can’t say enough about Jan Berry’s book- I purchased it years after I already knew how to make soap and understood the process and I still like going through her very thorough information- If you can’t tell, I highly recommend her book if you are a book person. I also like “The Power of the Seed” by Susan M. Parker for understanding a huge variety of oils and how they work and their saponification values (how the individual fat contents of oils react with the lye in soap). And if you really want to start geeking out, the “Handbook of Formulating Natural Cosmetics” by Anthony Dweck is also a resource I have found some great information in. With all the books, you will need to find the information that is relevant to your allergy profile, as they contain a huge variety of information that is not tree nut or coconut free. But the information is pretty extensive on all the ingredients so I still found the above mentioned books relevant.
General online: I’ve read so many blogs over the years that I’ve lost count. I like to use them for immediate general reference if there is something I’ve potentially gotten a little hazy on, or need to get other opinions on a specific detail. What I spent hours and hours (and hours and hours) in, were soaping forums. Reading though the real life questions and answers of other soap makers is enormously helpful and many of those forums go back for an incredible amount of years. If you have a question, the answer is likely searchable somewhere in there :). That saying, there are sites in terms of learning how to make soap that have done a wonderfully comprehensive job and are worth looking through :). This is a starting list, I’m sure there are many others out there you will find along your way.
https://www.soapmakingforum.com/
http://www.teachsoap.com/forum/
Supply Sourcing:
Here are a few online places to start with for purchasing supplies. If you are unsure as to an ingredient or an ingredient name, make sure to email the company asking for sourcing information, etc. It’s something I’ve had to do often over the years, as sourcing can change over time as well.
New Directions Aromatics: http://newdirectionsaromatics.com
Brambleberry: brambleberry.com
Organic Creations: https://organic-creations.com/
Making Cosmetics: makingcosmetics.com
Lotion Crafter: https://lotioncrafter.com/
Mountain Rose Herbs: https://mountainroseherbs.com/
Frontier Coop: https://www.frontiercoop.com/ (great for reasonably priced bulk organic herbs for infusing oils)
Costco, Whole Foods, your local health co-op, and Amazon can also be good sources for supples- just make sure to check in with the store manager or email the Amazon seller first if you are concerned. Some businesses, like Frontier coop, also sell on the Amazon platform- which can be more convenient if you are already a member or do much of your shopping through them.
