Cold Process Soap Making Instructions
Step 1– Weigh out your lye in one container & then weigh your water (or milk, etc.) in a DIFFERENT, heat safe container. Wearing your gloves and safety glasses, SLOWLY mix your lye into the water using your heat safe stirring spoon. ALWAYS mix lye into water, never ever ever mix the water into the lye. Do this outside or in a well ventilated area and do not stick your face right above the lye water, as the fumes will rise upwards out of the container. It’s important to stir slowly and steadily to ensure all the lye gets dissolved into the water, plus reduces the chance of being splashed with lye water. Stir thoroughly as small chunks of undissolved lye in a bar of soap is NO FUN and means you will need to throw your soap away. But with small batches, getting the lye to dissolve properly is much easier- undissolved lye tends to be more of a problem with larger batches, starting around 5 or 6 lbs. The lye will make the water very very hot (over 200degrees), so find a safe place to set it aside for a bit to cool down.
Step 2– Weigh out your oils in the soup pot and very gently heat on low for a few minutes. You are just warming your oil up a bit to get closer to the temp of the lye when it cools enough. Take your oil back off the stove when it gets to be around 100/110 degrees. If it gets too hot (this can happen more quickly that one realizes, just take it off the stove and allow to cool back to the above temperatures before using).* You will see some soap makers not heat their oils at all- Sometimes it can cause the oils to become a little thicker sooner, which can be harder to mold, or impossible to create a design if you are wanting to make one. But otherwise, it’s totally fine to not heat your oils at all when you work with oils that are already liquid (unlike needing to melt an oil that is solid at room temp, like cocoa butter).
Step 3- When the lye is cooled to about 120degrees or lower, carefully (to avoid splashes if possible) pour the lye water into the warmed oil. Use your immersion blender to blend the 2 together. Your oil will change from a darker, thinner olive oil color to a lighter beige and get thicker. When it is a pudding-like thickness, called Trace, it is blended enough to pour into your mold. Trace is recognizable when you pull your blender or spoon out of the soap batter and the drips sit on the surface of the batter for a few seconds before blending back in. **
If you are adding any extra ingredients, like clays or essential oils, once you reach trace with your soap batter, put your emersion blending aside and hand stir your additional ingredients in with your heat safe (silicone or heavy duty plastic) spoon. I get into this further on my recipe formulation page, but if you’re adding essential oils here, you’ll want to add about 1.5oz of essential oils per 2lbs(32oz) of soap. (Sometimes an ingredient like clay or activated charcoal is added to the water before the lye is mixed in- the recipe will indicate this. Essential oils are ALWAYS added after trace)
Step 4- Pour your blended soap (carefully, as it is still lye heavy at this point and therefore will sting if it comes in contact with your skin- so wear gloves!) into your soap mold. Find a safe space for it to sit for at least 24-48hours.
Step 5- after 24-48hours your soap will hard enough to take out of the mold and cut. You will know if it is hard enough for this when: you turn the box upside down and the silicone insert coming out reasonably easily AND it is also reasonably easy to peel the silicone or wax paper mold off of the soap. If you find it is still too mushy to get out of the mold, just let it sit for another 24 to 48hrs and try again, no need to put it back into the wooden box as it will hold its shape at this point. If you can’t even get it out of the wood box, also just let it sit for another 24 to 48hrs and try again. If you have to wait a week plus to be able to do this, you likely added too much water to your recipe. It happens- just keep waiting and checking- and make a note to reduce your water a bit more next time.
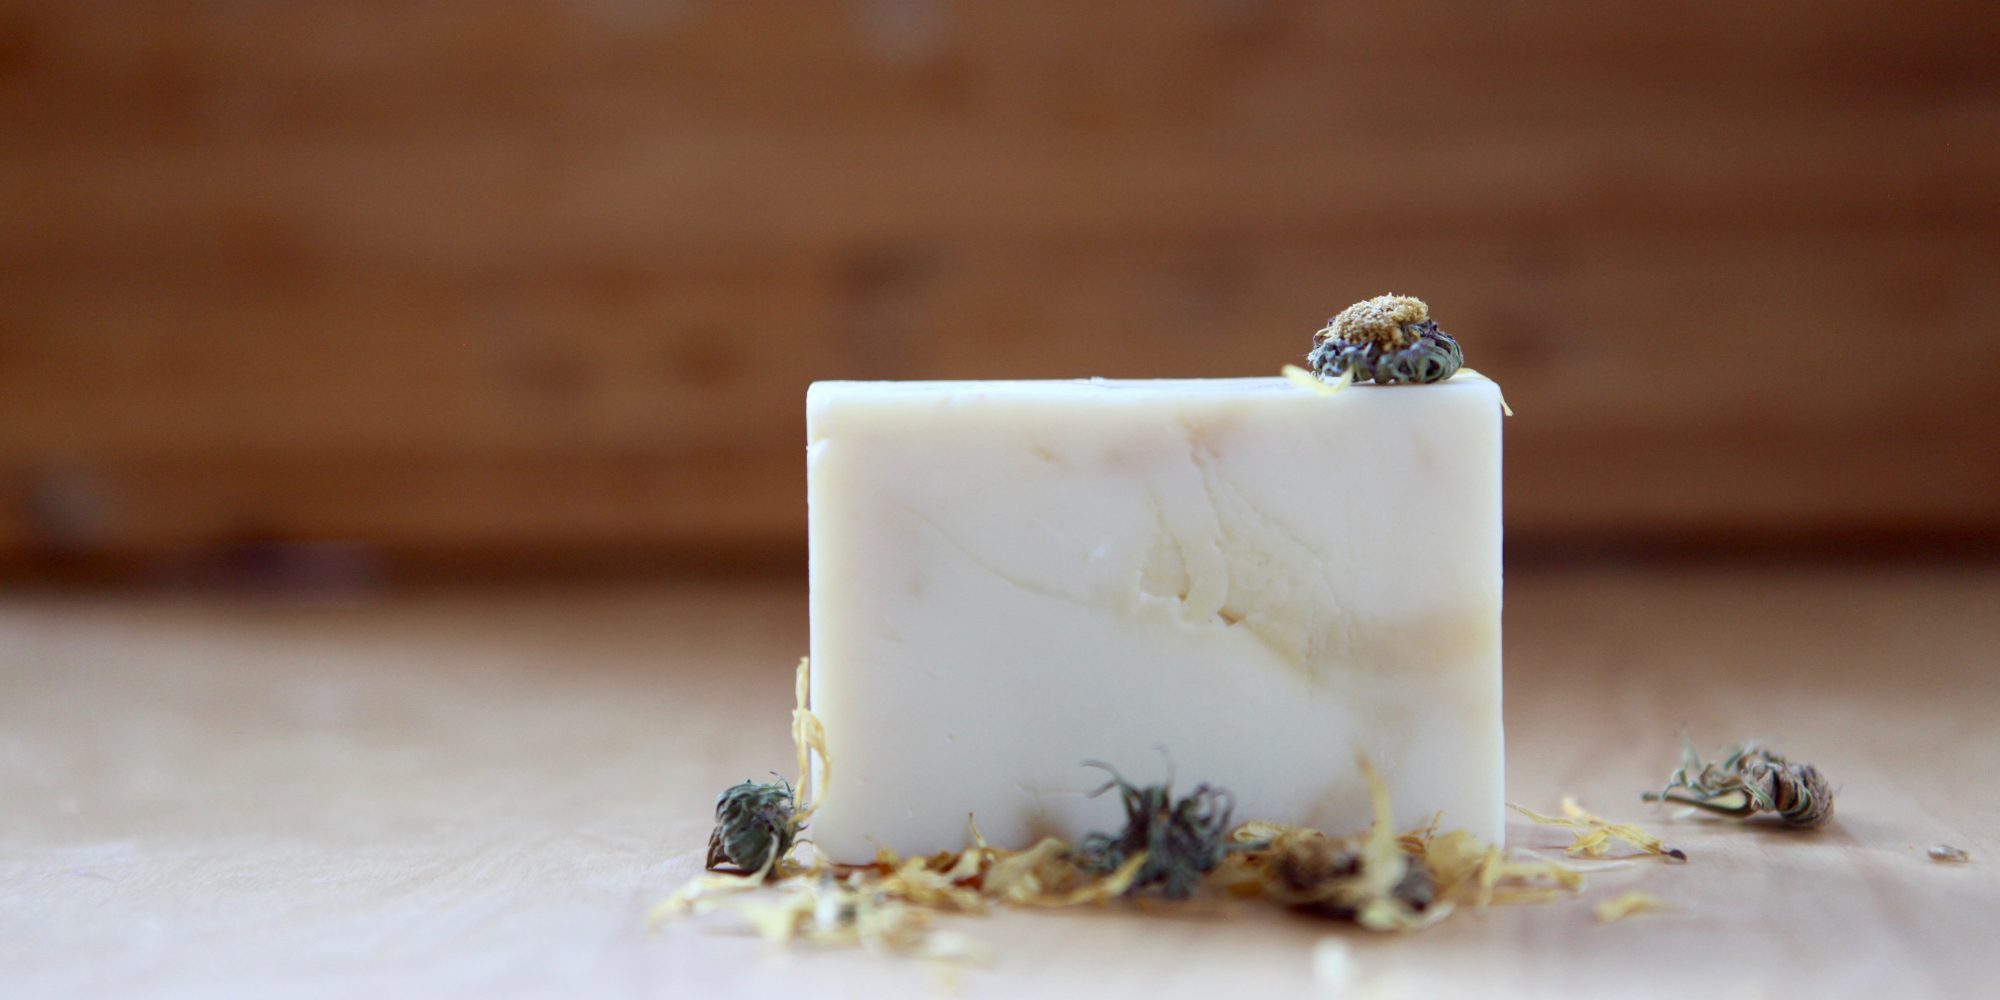
Step 6- After taking your soap out of the mold, cut your bars- any size you would like. I special soap cutter isn’t necessary- a dedicated kitchen chef knife is fine as well. Once your bars are cut, I suggest allowing them to stand upright to cure with a little bit of space around each bar (they can be close together, just ideally not touching each other), that way they “breath” on all sides but the bottom. Store them this way on an out of the way shelf, ideally not in direct light. Check on the in a couple of months and enjoy using them when ready, yay!
Note on using Hemp Oil– make sure to use the freshest Hemp oil you can find, and store it in the freezer for best results! Adding a 1-2 tbsp of honey to the batch (blend it in after trace) can extend the life of your hemp soap as honey acts as a natural preservative in soap. Another good natural preservative, as long as you aren’t allergic to it, is rosemary oleoresin. It is just a strong rosemary extract that is a great preservative in soap- it is scent free, so your soap will not smell like rosemary. However, it is a thick green liquid that will make your soap more beige- not a bit deal in a simple hemp soap, but don’t use if you want a perfectly white soap (like Castile) or are going for a perfect color combination or design.
*Note on temperatures: I have a lower range of temperatures for your lye and oils noted here in this instruction post. There are soap makers that soap at higher temperatures and/or then will cover their soap molds after pouring to create something called a gel phase- its where the middle of the soap moving towards the outside will become more transparent as the soap heats up in the mold first before hardening. This is an aesthetic choice, especially good for certain stylistic effects that I will not be covering in my recipe posts, but are fun to read about and try out once you get comfortable with the process. It will not make actually transparent soap- that can only be done with a glycerin soap base, and so far that is still not ever a coconut free option :(. Soaping at a higher temperature without knowing what you are doing (and has happened even when one does), can also create an overheating situation called a “soap volcano”- which basically ruins your batch and makes a huge mess. I often actually soap at even colder temperatures, closer to room temperature and don’t heat my oils at all unless working with a solid that needs melting (like cocoa butter)- this is totally fine too- just can sometimes cause the soap batter to become too thick too fast when still a beginner. It’s still usable, just a little harder to get into the mold.
** Note on pourable thicknesses: Getting confident about trace can be tricky at first. For a beginner, it’s generally better to over-blend, getting a thicker pudding-like soap batter than to under-blend and potentially not get the lye and oils mixed together enough. When soap is poured before reaching trace, it will not harden into soap, no matter how long it sits. The ideal is to get your batter just thick enough that it is like a pudding, but thin enough to still pour easily into the mold. As you get more experienced, you can try different trace levels, as thin traces are good for certain fancy designs. If you get a super thick trace where your batter won’t pour easily- no worries!!- you can use your spoon to just scoop and plop the batter into the mold. It might not be as pretty- depending, but it will still work just as well!
Adding this tutorial by another soap maker if you’d like a visual reference. For just the making process, start watching the video around 3:30 https://www.youtube.com/watch?v=pIzQk4xeFV4 . I like the level of detail she puts into her tutorial- however, she does use a 4th ingredient, sodium lactate, for firming the soap a little more quickly (this does not shorten the total cure time at all). While I personally don’t use this ingredient, feel free to add it in if you like. If her tutorial isn’t to your liking, a search for “Castile Soap” on youtube will bring up quite a few soap making tutorials that are specifically about creating a 100% olive oil soap. Note that their exact recipes will likely differ from mine somewhat.
